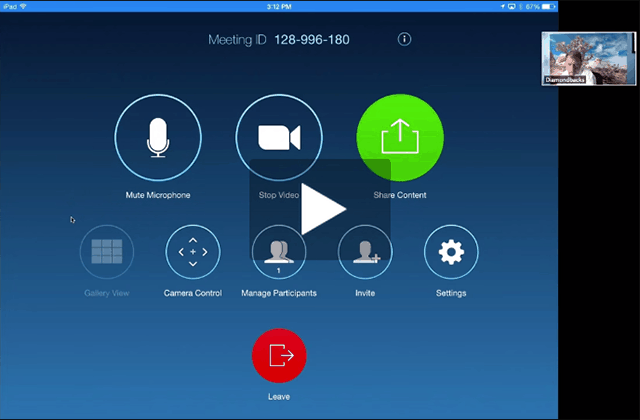
Zoom video conferencing is a great tool for remote meetings. This platform can set a virtual meeting among anyone with adequate resources and get the work done easily, quickly. And amidst quarantine periods caused by outbreaks as Coronavirus, tools like Zoom are gaining prominence among corporates. So here we are, explaining how to set up a basic Zoom account and host a meeting in less than five minutes.
Zoom follows the same simple procedure as numerous others, but just to be sure, here’s how it goes.
Setting up the webcam
The foremost thing to be done! If you’re having a laptop, tablet or smartphone, chances are you’re already having a built-in camera. If not, you gotta buy a tiny webcam and hook it up to your monitor. Make sure the purchased camera is compatible with your PC settings and have no conflicts with connecting to our conferencing software. Well, that couldn’t be the case, as most of the webcams are designed for such purposes.
Creating an account
Having set with a camera, you may now install the desired client software. Zoom is available in the form of a desktop app (for Windows, macOS), a smartphone app (for Android, iOS) and even as a browser extension. This makes your life easier, as installing the software for once will never let you look back.
If you’re done with installing the software, you’ll now be proceeding to create an account with it. Here, provide your email address in the Signup for Free space for creation, and you’ll be receiving a verification email of your account. After clicking on the verification, you’d be promoted to set a password for safeguarding your activity.
Note: Setting up a webcam and Creating an account steps are interchangeable steps, as one having an in-built camera already can skip the first and go directly with setting up an account.
Host a meeting
The crucial part of all, hosting a meeting couldn’t be easier with Zoom. The software has a simple website to navigate over options and invite around 1,000 participants and 10,000 viewers at a time! That’s huge, but that’s in the paid plan. Yet, a free plan is still worth tens of people, having a 100 headcount.
To host a meeting, head to the Host button on the top right corner and create a room for your viewers. You can then let them access it by inviting them to join via a link or a code. This can be generated and sharable via email. Even better than that, scheduling a meeting of such a specific date and time could be helpful. Here, you can schedule it by Google calendar or Outlook, and invite them over.
Other general features alongside this quick conferencing include text-based chatting, sending reactions as emojis and sharing files. Further, the host can even create a whiteboard to draw/plot something while explaining to clients and even records the whole session.
Having said all of that, make sure you’re complying with the order what we’ve quoted. This simple three-step procedure lets you connect with your clients easier than ever. Happy meeting!

